This walkthrough uses a sample concrete block EPD. Estimated time: 30–45 minutes for your first EPD.
Step 1 — Create the EPD record
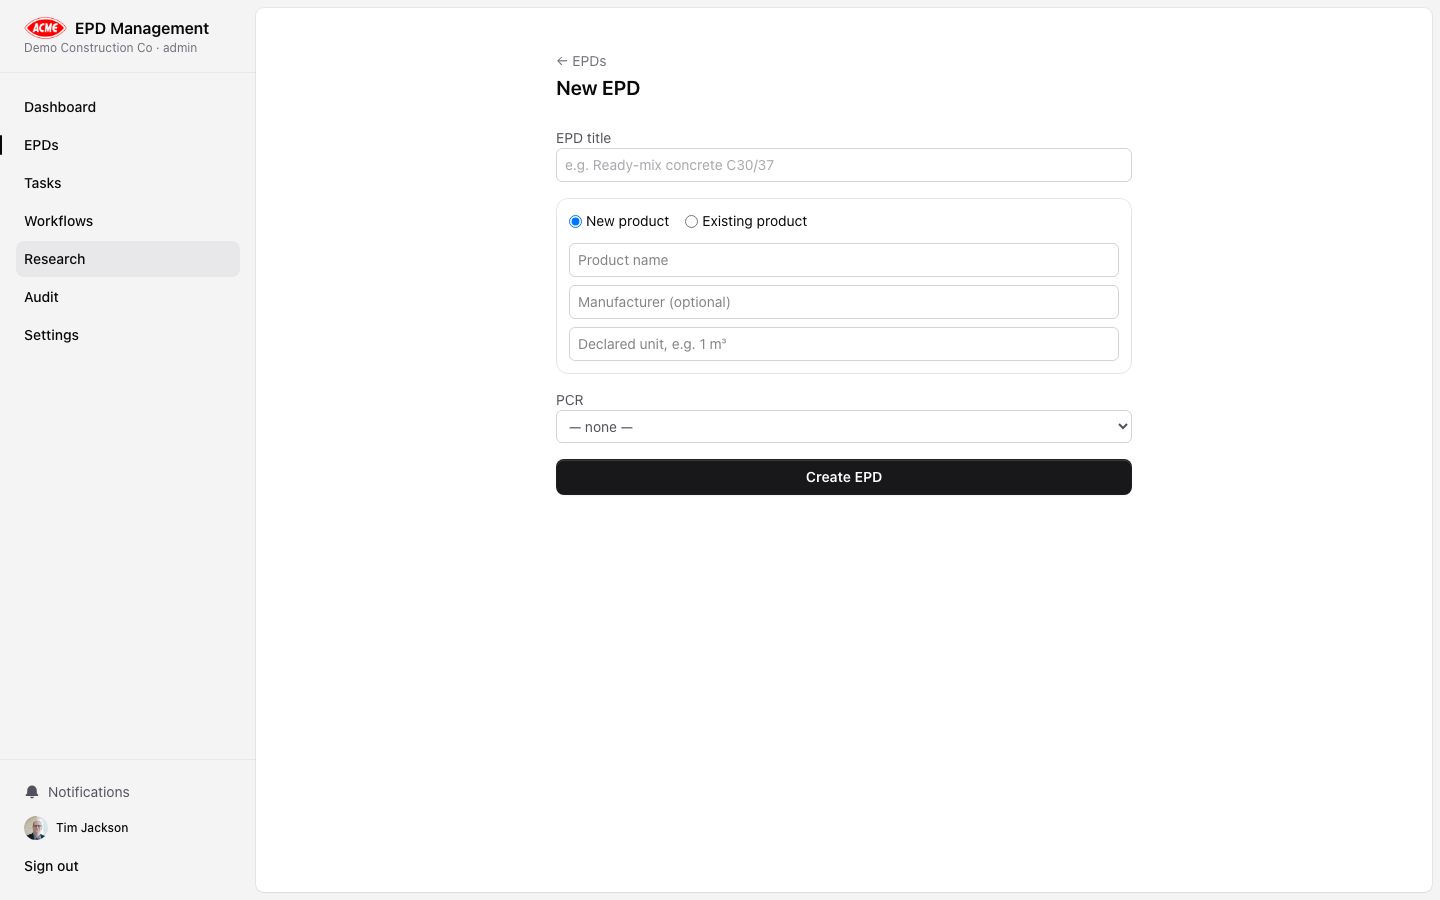
Fill in basic details
Enter the following:
| Field | Example value |
|---|---|
| EPD title | Concrete Block — EN 15804+A2 EPD |
| Product name | Standard Density Concrete Block |
| Standard profile | EN 15804+A2 / ISO 14025 |
| PCR | EN 16757 — Concrete and concrete elements |
Step 2 — Complete the Overview

System boundary
Describe the system boundary — e.g.
Cradle to gate (modules A1–A3). Excludes operational and end-of-life stages.Manufacturer details
Enter the manufacturer name, country of manufacturing, and any relevant plant location.
Step 3 — Enter LCA module data

| Indicator | Module A1 | Module A2 | Module A3 |
|---|---|---|---|
| GWP-total (kg CO₂ eq.) | 45.2 | 3.1 | 12.4 |
| ODP (kg CFC-11 eq.) | 2.1e-7 | 1.4e-8 | 4.2e-8 |
| AP (mol H⁺ eq.) | 0.18 | 0.09 | 0.05 |
| PENRT (MJ) | 180 | 42 | 65 |
Leave modules outside your declared system boundary (B1–B7, C1–C4, D) as
MND (Module Not Declared) rather than zero. Zero implies a measured result of zero, which is different from “not applicable”.Step 4 — Run AI gap analysis

Run
Click Run analysis. Wait for the status to change from
pending → running → complete (typically 15–30 seconds).Understanding gap analysis output
The AI will identify issues such as:Step 5 — Run conformance check
Review clause-by-clause findings
The conformance check maps your EPD against specific clauses of EN 15804+A2. Each finding includes the relevant clause reference.
Step 6 — Create tasks for your team
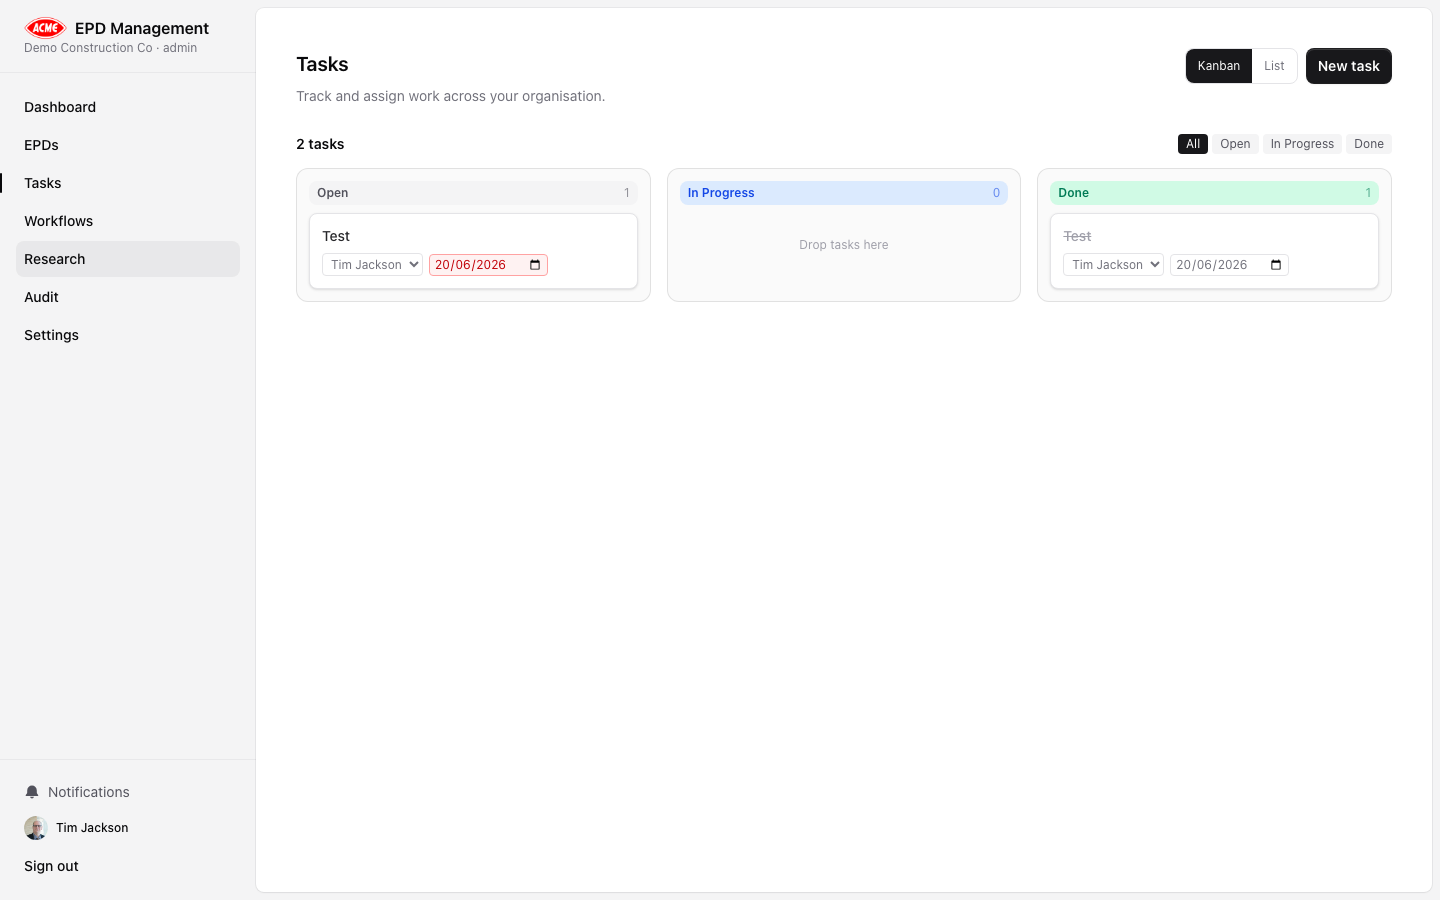
Create a task
Click New task, enter a title describing the action needed (e.g. “Add background database documentation to Concrete Block EPD”), set the assignee, priority, and due date.
Step 7 — Progress the workflow

Record an internal approval
An admin or reviewer can open the Governance tab and record an approval decision with a comment.
Send to verifier
Once internal review is approved, click Send to Verifier. Record the verifier details in the Governance tab.
Record verification outcome
After verification, record the outcome (approved/rejected), verifier name, accreditation reference, and validity date.
Step 8 — Generate the EPD document

Check branding is configured
If your logo and brand colours are not yet set, go to Settings → Organisation first. See Branding.
Generate PDF
Click Generate PDF. The document will be rendered using your EPD data, LCA results, and brand kit.
Step 9 — Review the audit trail

- Go to the EPD’s Governance tab to see the EPD-specific log
- Go to Audit in the sidebar to see the full organisation log
🎉 Congratulations
You have completed the end-to-end EPD Management walkthrough. Your EPD has been:- ✅ Created and fully documented
- ✅ Analysed for gaps and conformance using AI
- ✅ Progressed through the workflow to Published
- ✅ Generated as a branded PDF document
- ✅ Recorded in a complete, immutable audit trail