Overview
The Branding panel under Settings → Organisation controls how your organisation’s identity is applied to:- Generated EPD PDF documents
- The application sidebar (logo shown next to “EPD Management” title)
Configuring branding
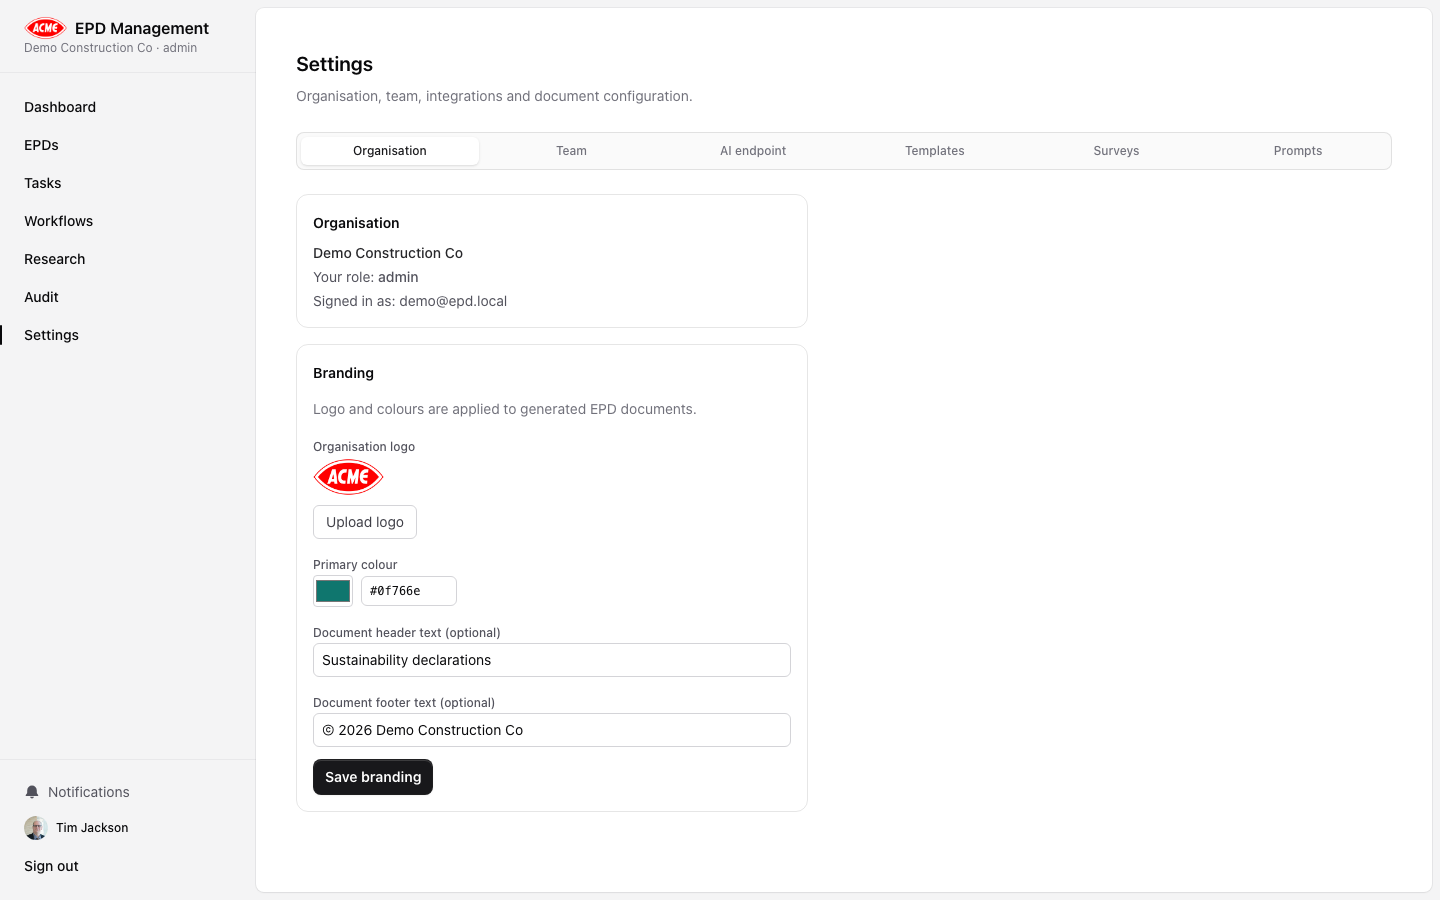
Upload a logo
Under Branding, click Choose file to upload your organisation’s logo. Supported formats: PNG, SVG, JPEG. Recommended size: 200×80 px or similar wide-format logo.
Set primary colour
Use the colour picker or type a hex code to set your brand’s primary colour. This is used for accents in generated documents.
Set document header (optional)
Enter text to appear in the header of generated EPD PDFs — typically your organisation name or a statement of authority.
Set document footer (optional)
Enter text to appear in the footer — typically copyright notice, contact details, or a disclaimer.